Many players in World of Warcraft has been using different add-ons so that's what they see on their screen fits their needs. The normal standard UI has been unchanged for 18 years, until now. With the launch of Dragonflight Pre-Patch, we have a brand new standard UI that players can customize and move things around with the help of the option called “Edit Mode”.
Opening the Edit Mode will open up a new tab in which you can mark what you want to change and you also have a grid bar so that you can place the different parts of the ui more precisely.
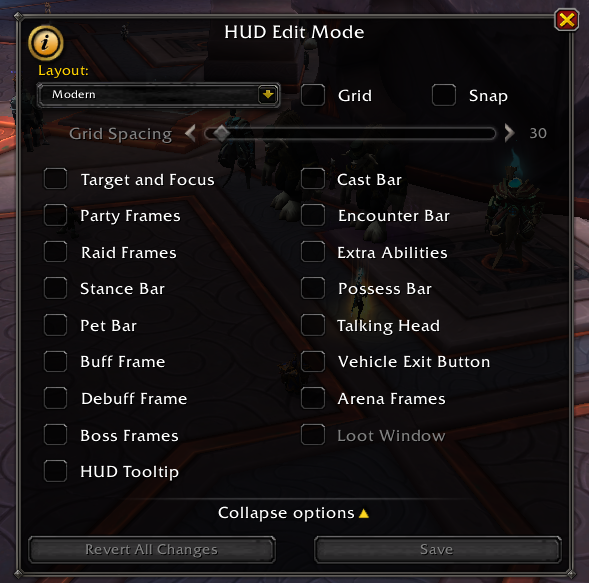
You can also save your UI layout and name it, so that you can change between different UI based on what you are doing in the game, for example an outdoor UI when questing, a profession UI when working on or farming profession materials, a raid or dungeon UI, a PvP UI and so on.
The different options to edit in the UI are:
- Target and Focus
- Party Frames
- Raid Frames
- Stance Bar
- Pet Bar
- Buff Frame
- Debuff Frame
- Boss Frames
- Hud Tooltip
- Cast Bar
- Encounter bar
- Extra Abilities
- Possess Bar
- Talking Head
- Vehicle Exit Button
- Arena Frames
- Loot Window
There are more UI options that are not on the edit options, which are:
- Player Frame
- Mini Map
- Action Bars
- Objective Tracker
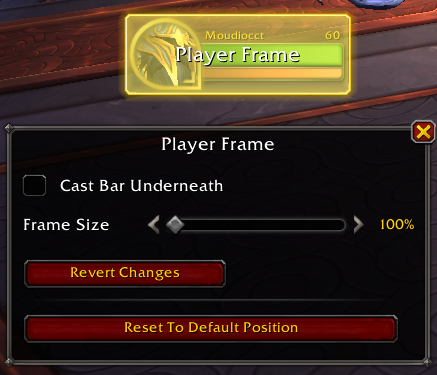
Player Frame
The player frame is not on the Edit Mode option, but if you click on your character frame, called Player frame, it will be highlighted and a new tab opens up. You can choose the size of the player frame and also if you want the cast bar to be underneath the player frame or not. You can also move the frames around to your desirable location.
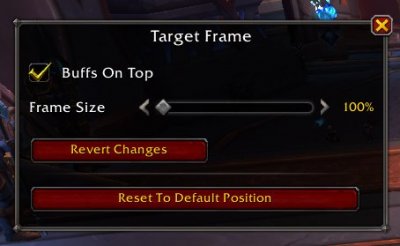
Target and Focus
Clicking on this checkbox will highlight your target frame and your focus frame.
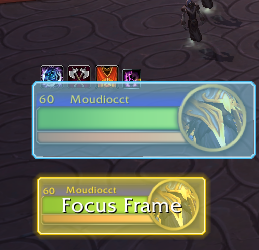
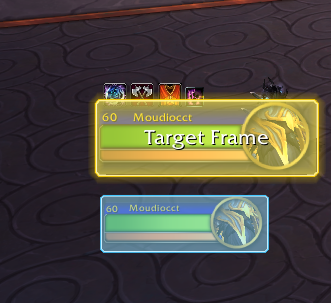
When you click on the target frame, a new tab opens up where you can change the frame size and where you want the buffs to be, below or above your target frame.
When you click on the focus frame, a new tab opens up where you can change to a larger frame or keep the smaller frame.
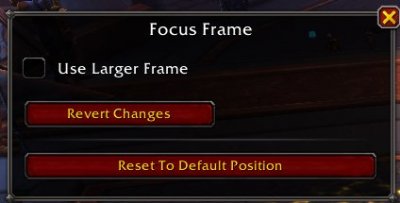
You can also move the frames around to your desirable location.
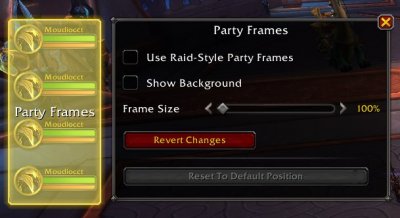
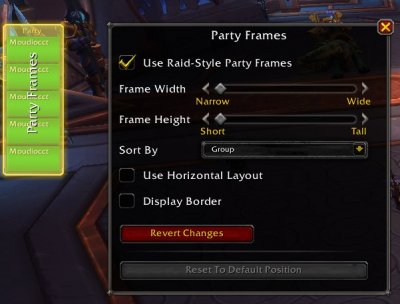
Party Frames
Clicking on this checkbox will highlight your party frame. When you click on that party frame, you will see a new tab where you can choose “Use Raid-Syle Party Frames” and Show Background. You can also chage the size on your party frame. If you click on Use Raid-Syle Party Frames”, you will have more options: If you want borders or not and if you want Horizontal or vertical layout. You can also move the frames around to your desirable location.
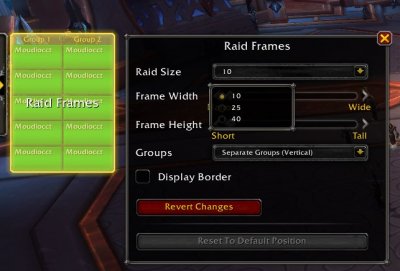
Raid Frames
Clicking on this checkbox will highlight your Raid frames. When you click on that raid frame, you will see a new tab where you can choose how the layout will look on 10, 25 and 40 man raid size. You also have the option to change the size in width/height and if you want the groups to be vertical or horizontal. You can also move the frames around to your desirable location.
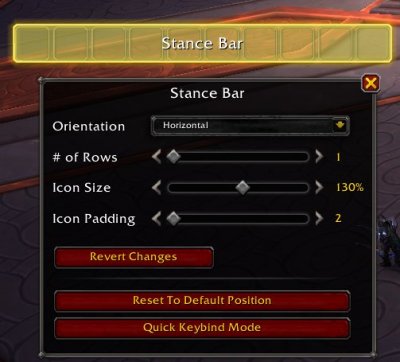
Stance Bar
Clicking on this checkbox will highlight your Stance Bar. When you click on that stance bar, you will see a new tab where you can choose different options of the layout: if you want to horizontally or vertically, how many rows, the icon size and the space between each bar. You can also move the frames around to your desirable location.
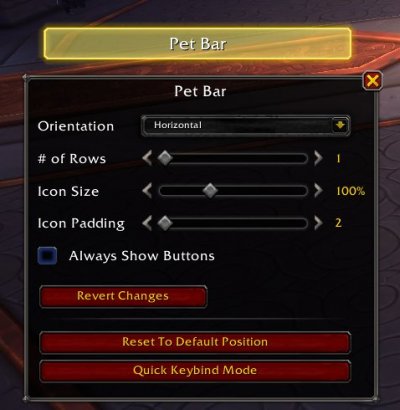
Pet Bar
Clicking on this checkbox will highlight your Pet Bar. When you click on that pet bar, you will see a new tab where you can choose different options of the layout: if you want to horizontally or vertically, how many rows, the icon size and the space between each bar. You can also move the frames around to your desirable location.
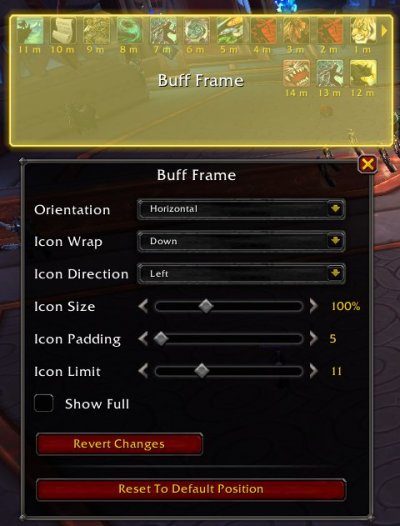
Buff Frame
Clicking on this checkbox will highlight your Buff Frame. When you click on that buff frame, you will see a new tab where you can choose different options of the layout: if you want them to line up horizontally or vertically, if you want the icons to move upwards or downwards, if you want the icon direction to start on the left or right side. You can also change the size of the buffs, how much space you want between them and how many buffs you want on each row. You can also move the frames around to your desirable location.
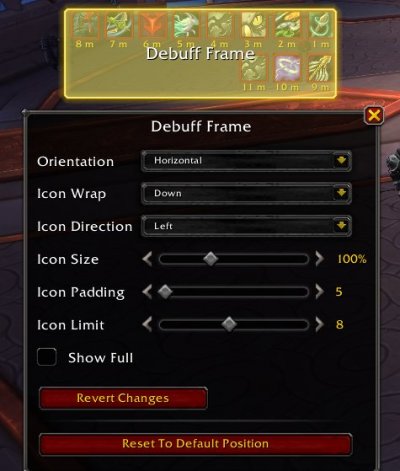
Debuff Frame
Clicking on this checkbox will highlight your Debuff Frame. When you click on that debuff frame, you will see a new tab where you can choose different options of the layout: if you want them to line up horizontally or vertically, if you want the icons to move upwards or downwards, if you want the icon direction to start on the left or right side. You can also change the size of the buffs, how much space you want between them and how many buffs you want on each row. You can also move the frames around to your desirable location.
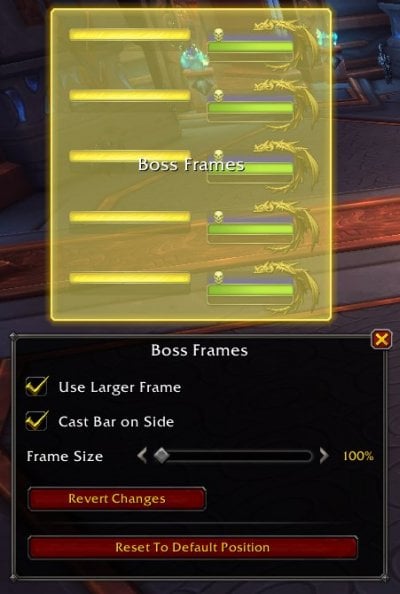
Boss Frames
Clicking on this checkbox will highlight your Boss Frames. When you click on that boss frame, you will see a new tab where you can choose larger size. If you do that, you get another option where you can make the size even bigger. You can also choose if you want to have the Cast bar under the boss frame or on the side of the boss frame. You can also move the frames around to your desirable location.
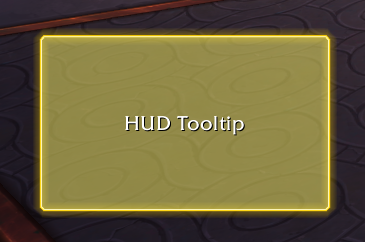
HUD Tooltip
This tooltip shows information about what you are mouseoivering. If you for example mouseover another player character, it shows their name, faction, race etc. You can move this tooltip around to your desirable location.
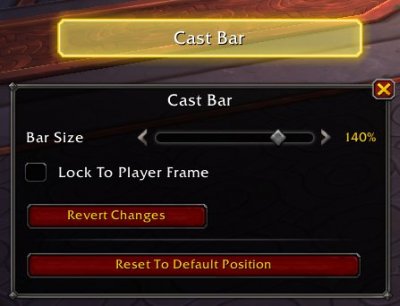
Cast Bar
Clicking on this checkbox will highlight your Cast bar. When you click on that cast bar, you will see a new tab where you can choose where you can choose the size of the bar and also if you want to lock the bar underneath your player frame or place it wherever you want.
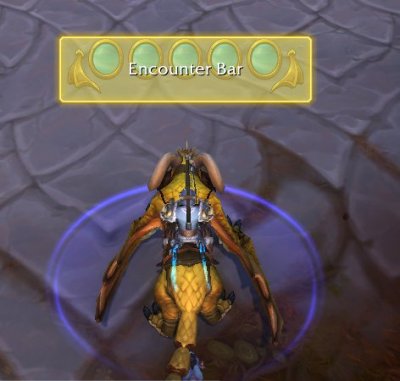
Encounter Bar
When you encounter something you can sometimes get a bar. When you fly with your dragon in dragonflight, you will also get a bar tied to flying. This encounter bar can be moved around to your desirable location.
Extra Abilities
You will sometimes get an extra ability when you do a quest or encounter a boss etc. This “Extra Ability can be moved around to your desirable location.
Possess Bar
The possess bar is a special state which causes your action bar to change when you lose control of your character and gain control of another. Clicking on this checkbox will highlight your Possess Bar. When you click on that possess bar, you will see a new tab where you can choose different options of the layout: if you want to horizontally or vertically, how many rows, the icon size and the space between each bar. You can also move the frames around to your desirable location.
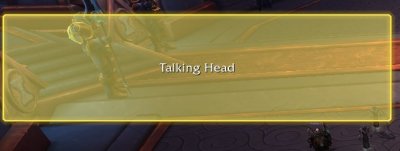
Talking Head
This pops up when a character is talking to you, for example when you enter a world quest. You will see the head of the character and a text on what the character says to you. This Talking Head can be moved around to your desirable location.
Vehicle Exit Button
The vehicle exit button is used when you are controlling something in the game. You use this button to leave it. This cannot be changed in size but you can move it around to your desirable location.
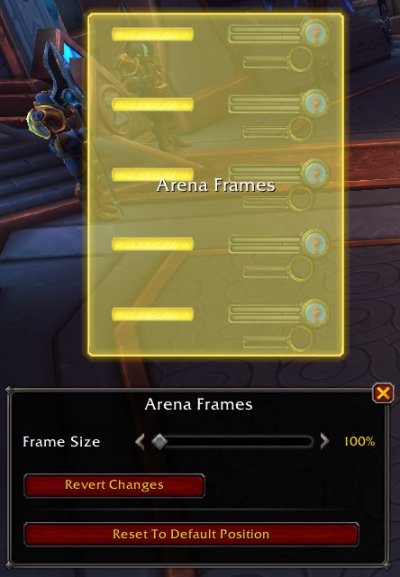
Arena Frames
Clicking on this checkbox will highlight your Arena Frames. When you click on that arena frame, you will see a new tab where you can make the size bigger or smaller. You can also move the frames around to your desirable location.
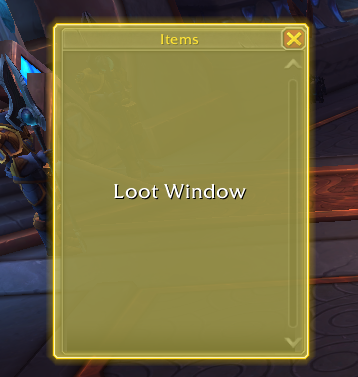
Loot Window
To customize the loot window layout, you have to enter the options > Gameplay > Controls and disable “Open Loot Window at Mouse”. Clicking on this checkbox will highlight your Loot Window. When you click on that loot window, you will be able to move it around to your desirable location.
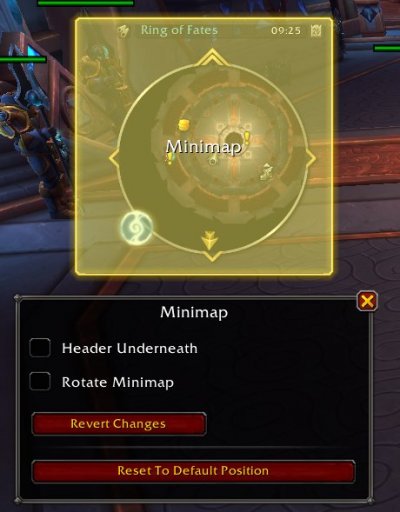
Mini map
The mini map is not on the Edit Mode option, but if you click on the mini map, it will be highlighted and a new tab opens up.You can rotate the map, have the header underneath or over it and also place it anywhere you want.
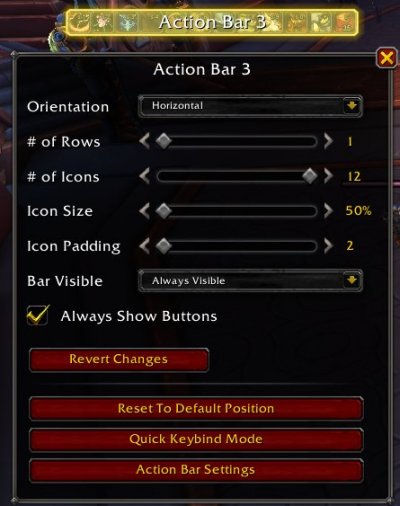
Action Bars
The Action Bars are not on the Edit Mode option, but if you click on an action bar it will be highlighted and a new tab opens up. This tab option lets you edit the number of rows, number of icons, the size, the space between the bars and if you want it horizontally or vertically. You can also add up to 8 action bars now. It was 6 before. You can also move the bars around to your desirable location.
Objective Tracker
The Objective Tracker is not on the Edit Mode option, but if you click on an Objective Tracker it will be highlighted and you can move it around to your desirable location and decide the height on it.


